 lamp环境部署.docx
- 文档编号:3868213
- 上传时间:2022-11-26
- 格式:DOCX
- 页数:13
- 大小:20.89KB
lamp环境部署.docx
《lamp环境部署.docx》由会员分享,可在线阅读,更多相关《lamp环境部署.docx(13页珍藏版)》请在冰豆网上搜索。

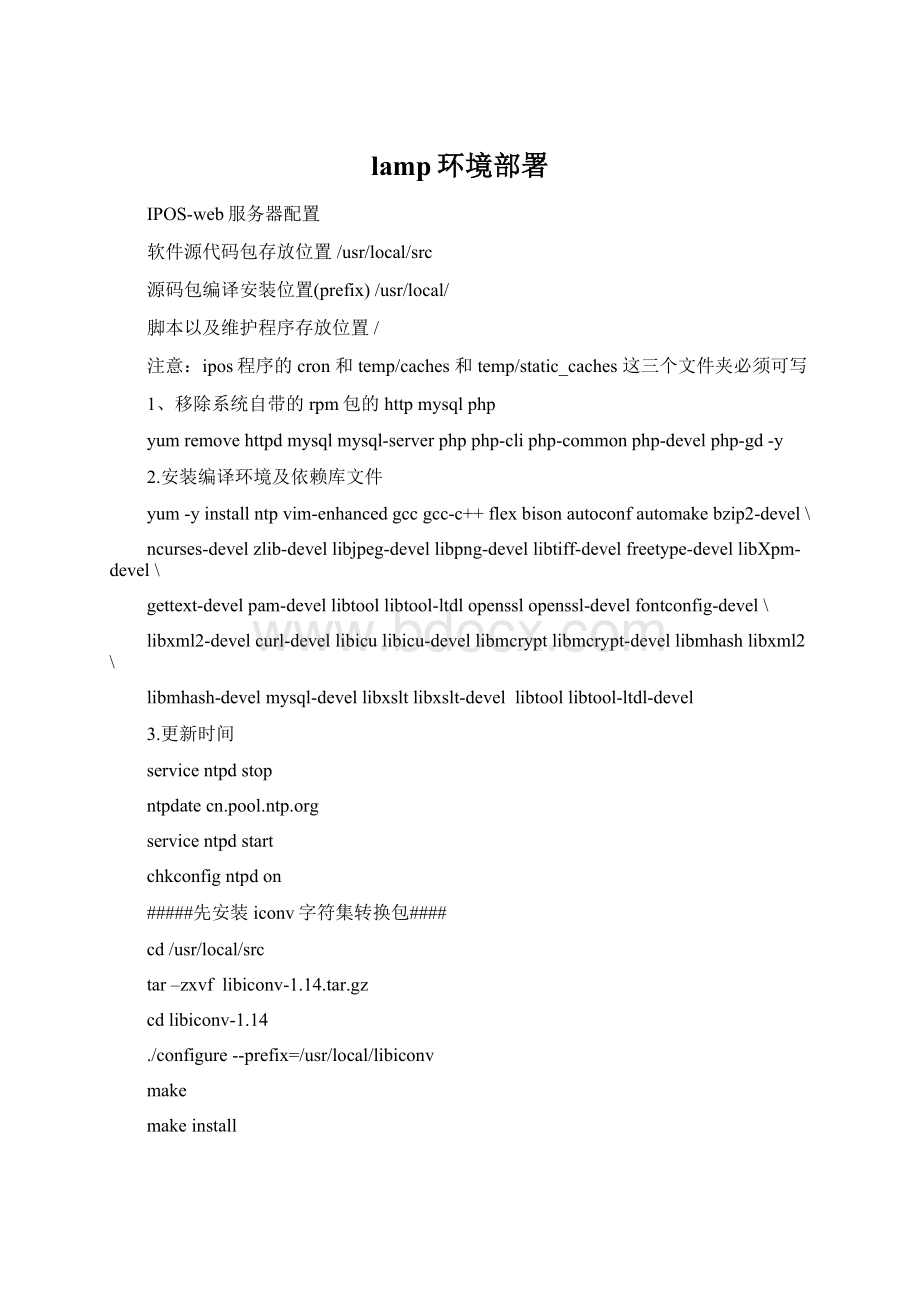
lamp环境部署
IPOS-web服务器配置
软件源代码包存放位置/usr/local/src
源码包编译安装位置(prefix)/usr/local/
脚本以及维护程序存放位置/
注意:
ipos程序的cron和temp/caches和temp/static_caches这三个文件夹必须可写
1、移除系统自带的rpm包的httpmysqlphp
yumremovehttpdmysqlmysql-serverphpphp-cliphp-commonphp-develphp-gd-y
2.安装编译环境及依赖库文件
yum-yinstallntpvim-enhancedgccgcc-c++flexbisonautoconfautomakebzip2-devel\
ncurses-develzlib-devellibjpeg-devellibpng-devellibtiff-develfreetype-devellibXpm-devel\
gettext-develpam-devellibtoollibtool-ltdlopensslopenssl-develfontconfig-devel\
libxml2-develcurl-devellibiculibicu-devellibmcryptlibmcrypt-devellibmhashlibxml2\
libmhash-develmysql-devellibxsltlibxslt-devellibtoollibtool-ltdl-devel
3.更新时间
servicentpdstop
ntpdatecn.pool.ntp.org
servicentpdstart
chkconfigntpdon
#####先安装iconv字符集转换包####
cd/usr/local/src
tar–zxvflibiconv-1.14.tar.gz
cdlibiconv-1.14
./configure--prefix=/usr/local/libiconv
make
makeinstall
*****(configure:
error:
noacceptableccfoundin$PATH——该错误提示:
安装gcc不成功,重新安装)
一、apache安装
cd/usr/local/src-------找到包的路径
tar-zxvfhttpd-2.2.21.tar.gz
cdhttpd-2.2.21
./configure--prefix=/usr/local/apache\
--enable-so--enable-rewrite\
--enable-mods-shared=most
make
makeinstall
/usr/local/apache/bin/apachectlstart
netstat-tnlp|grephttpd
cp/usr/local/apache/bin/apachectl/etc/init.d/httpd
/etc/init.d/httpdrestart
netstat-tnlp|grep80
vim/etc/init.d/httpd//(第二行添加注释信息,添加为系统服务,黄色为添加的内容,#号也要)
#chkconfig:
356161
#description:
Apache
:
wq保存退出
/sbin/chkconfig--addhttpd
/sbin/chkconfighttpdon
Servicehttpdstop
Servicehttpdstart
Serviceiptablesstop
测试:
http:
//localhost:
80或者http:
//IP:
80
二、MYSQL的安装
cd/usr/local/src
wgethttp:
//www.cmake.org/files/v2.8/cmake-2.8.6.tar.gz(这个是在线下载,put的话就不用下载)
tar–zxvfcmake-2.8.6.tar.gz
cdcmake-2.8.6
./configure
(ErrorwhenbootstrappingCMake:
CannotfindappropriateC++compileronthissystem.该错误原因是C++未安装成功)
解决办法、:
yum–yinstallgcc-c++
make
makeinstall
--创建数据库、日志文件夹
mkdir-p/data/mysql/data
mkdir-p/data/mysql/log
tar–zxvfmysql-5.5.17.tar.gz
cdmysql-5.5.17.tar.gz
cmake-DCMAKE_INSTALL_PREFIX=/usr/local/mysql\
-DMYSQL_DATADIR=/data/mysql/data\
-DWITH_MYISAM_STORAGE_ENGINE=1\
-DWITH_INNOBASE_STORAGE_ENGINE=1\
-DWITH_ARCHIVE_STORAGE_ENGINE=1\
-DWITH_BLACKHOLE_STORAGE_ENGINE=1\
-DENABLED_LOCAL_INFILE=1\
-DDEFAULT_CHARSET=utf8\
-DDEFAULT_COLLATION=utf8_general_ci\
-DEXTRA_CHARSETS=all\
-DMYSQL_TCP_PORT=3306
(CouldNOTfindCurses(missing:
CURSES_LIBRARYCURSES_INCLUDE_PATH)
CMakeErroratcmake/readline.cmake:
83(MESSAGE):
Curseslibrarynotfound.Pleaseinstallappropriatepackage,该问题原因:
未安装成功ncurses-devel)
-------解决办法:
yum–yinstallncurses-devel
make
makeinstall
--建帐户
/usr/sbin/groupadd-r-g3306mysql
/usr/sbin/useradd-u3306-gmysql-r-M-s/sbin/nologinmysql
--更改数据文件属组及权限
chown-Rmysql:
mysql/data/mysql
chmod-R755/data/mysql/
--建立cnf文件
cpsupport-files/my-f/etc/f
--初使化数据库
/usr/local/mysql/scripts/mysql_install_db--user=mysql--basedir=/usr/local/mysql--datadir=/data/mysql/data&
#cpsupport-files/mysql.server/etc/init.d/mysqld
#chmod+x/etc/init.d/mysqld
#/sbin/chkconfig--addmysqld
#/sbin/chkconfigmysqldon
#/sbin/servicemysqldstart
#netstat-tnlp|grep3306
#cd/usr/local/bin//进入用户的默认搜索路径下建立mysql命令的软连接,可以直接执行mysql命令
#ln-s/usr/local/mysql/bin/mysqlmysql
#ln-s/usr/local/mysql/bin/mysqldumpmysqldump
#ln-s/usr/local/mysql/bin/mysqladminmysqladmin
#ln-s/usr/local/mysql/bin/mysqlbinlog
#mysqladmin-uroot-ppassword''//设置数据库密码
#mysql-uroot-p
以下的优化可以最后做(以下的灰色可以先不做)
sudovim/etc/f//Mysql优化,在[mysqld]配置参数下面添加下面几行(大概37行下面),根据服务器不同配置进行不同的设置
####先修改刚开始的几个参数###########
key_buffer_size=32M
max_allowed_packet=100M
table_open_cache=3000M
sort_buffer_size=16M
net_buffer_length=8K
read_buffer_size=8M
read_rnd_buffer_size=16M
myisam_sort_buffer_size=256M
bulk_insert_buffer_size=64M
myisam_max_sort_file_size=8G
myisam_repair_threads=1
myisam_recover
####下面这些是添加的默认没有###########
innodb_file_per_table
log-bin-trust-function-creators=1
skip-name-resolv
lower_case_table_names=1
max_connections=512
max_connect_errors=10
log-error=/data/mysql/log/mysql.err.log
max_heap_table_size=256M
join_buffer_size=128M
thread_cache_size=32M
thread_stack=256K
query_cache_type=1
query_cache_size=1024M
query_cache_limit=4M
tmp_table_size=128M
back_log=1024
open_files_limit=20480
interactive_timeout=120
wait_timeout=120
external-locking=FALSE
table_cache=512M
slow_query_log
long_query_time=2
character-set-server=utf8
ft_min_word_len=4
####下面的都去掉注释#
innodb_data_home_dir=/data/mysql/data
innodb_data_file_path=ibdata1:
10M:
autoextend
innodb_log_group_home_dir=/data/mysql/data
#Youcanset.._buffer_pool_sizeupto50-80%
#ofRAMbutbewareofsettingmemoryusagetoohigh
innodb_buffer_pool_size=16G
innodb_additional_mem_pool_size=32M
#Set.._log_file_sizeto25%ofbufferpoolsize
innodb_log_file_size=1024M
innodb_log_buffer_size=512M
innodb_flush_log_at_trx_commit=1
innodb_lock_wait_timeout=50
innodb_write_io_threads=8
innodb_read_io_threads=8
innodb_thread_concurrency=16
:
wq//保存退出
sudorm-rvf/data/mysql/data/ib_logfile*//删除原来的默认文件
sudo/sbin/servicemysqldrestart
Mysql>grantallprivilegeson*.*toipos@'%'identifiedby'123456';
Mysql>flushprivileges;
serviceiptablesstop
用NavicatforMySQL软件测试是否mysql连接正常
-------安装PHP-------------------------
cd/usr/local/src
tarxvfphp-5.2.17.tar.gz
exportLDFLAGS=-L/usr/lib64/mysql
cdphp-5.2.17
#######mysql在不同服务器上的时候使用下面的参数###################
./configure--prefix=/usr/local/php\
--with-apxs2=/usr/local/apache/bin/apxs\
--enable-cgi--with-mysql=/usr/lib/mysql/\
--with-config-file-path=/usr/local/php/etc\
--with-pdo-mysql=/usr/bin/mysql\
--with-mysqli=/usr/bin/mysql_config\
--enable-zip--enable-sqlite-utf8-enable-sockets\
--enable-soap--enable-pcntl--enable-mbstring\
--enable-calendar--enable-bcmath\
--with-iconv=/usr/local/libiconv/\
--enable-exif--with-mcrypt--with-mhash--with-gd\
--with-png-dir--with-jpeg-dir--with-freetype-dir\
--with-libxml-dir--with-curl--with-curlwrappers\
--with-zlib--with-openssl--with-kerberos=shared\
--with-gettext=shared--with-xmlrpc=shared--with-xsl\
make
makeinstall
#######当mysql在同一台服务器上的时候使用下面的参数###################
./configure--prefix=/usr/local/php\
--with-apxs2=/usr/local/apache/bin/apxs\
--enable-cgi--with-mysql=/usr/local/mysql\
--with-config-file-path=/usr/local/php/etc\
--with-pdo-mysql=/usr/local/mysql/\
--with-mysqli=/usr/local/mysql/bin/mysql_config\
--enable-zip--enable-sqlite-utf8--enable-sockets\
--enable-soap--enable-pcntl--enable-mbstring\
--enable-calendar--enable-bcmath\
--with-iconv=/usr/local/libiconv/\
--enable-exif--with-mcrypt--with-mhash--with-gd\
--with-png-dir--with-jpeg-dir--with-freetype-dir\
--with-libxml-dir--with-curl--with-curlwrappers\
--with-zlib--with-openssl--with-kerberos=shared\
--with-gettext=shared--with-xmlrpc=shared--with-xsl\
make
makeinstall
#################################################################
cpphp.ini-dist/usr/local/php/etc/php.ini//拷贝配置文件
-------整合Apache与PHP及系统初始化配置
vim/usr/local/apache/conf/httpd.conf
-------查找AddTypeapplication/x-gzip.gz.tgz,在该行下面添加
AddTypeapplication/x-httpd-php.php
-------查找DirectoryIndexindex.html把该行修改成
DirectoryIndexindex.htmlindex.htmindex.php
:
wq//保存退出
-------测试apache和php是否整合成功,下面我们测试apache和php是否整合成功,在apache文档跟目录下新建一个小小的php程序
cd/usr/local/apache/htdocs
vitest.php//在test.php文件中写入下面三行
php
phpinfo();
?
>
-------重启apache服务
servicehttpdrestart
serviceiptablesstop
-------访问,在浏览器中输入http:
//ip/test.php出现php信息界面则说明整合成功
安装freeTDS
进入需要安装的路径
-------下载最新的freetds编译安装
tarxvffreetds-stable.tgz
cdfreetds-0.91/
./configure--prefix=/usr/local/freetds--with-tdsver=7.1--enable-msdblib--with-gnu-ld--enable-shared--enable-static
make
makeinstall
vim/usr/local/freetds/etc/freetds.conf//修改最后的文件内容
[global]
#TDSprotocolversion
tdsversion=8.0
#WhethertowriteaTDSDUMPfilefordiagnosticpurposes
#(settingthisto/tmpisinsecureonamulti-usersystem)
dumpfile=/tmp/freetds.log
debugflags=0xffff
#Commandandconnectiontimeouts
timeout=10
connecttimeout=10
[mysqlserver]
host=127.0.0.1
port=1433
tdsversion=8.0
clientcharset=utf-8
cd/usr/local/src/php-5.2.17/ext/mssql///进入php解压目录(不一定在该路径下)
/usr/local/php/bin/phpize
./configure--with-php-config=/usr/local/php/bin/php-config--with-mssql=/usr/local/freetds/
-------返回TDS路径
make
makeinstall
################zendinstall#####################
tarxvfZendOptimizer-3.3.9-linux-glibc23-x86_64.tar.gz
cdZendOptimizer-3.3.9-linux-glibc23-x86_6
-------进入ZendOptimizer-3.3.9-linux-glibc23-x86_64/data/5_2_x_comp路径/执行
cp/usr/local/src/ZendOptimizer-3.3.9-linux-glibc23-x86_64/data/5_2_x_comp/ZendOptimizer.so/usr/local/php/lib/php/extensions/no-debug-non-zts-20060613/
vim/usr/local/php/etc/php.ini//修改添加
extension_dir=“./”//修改为下面的内容
extension_dir="/usr/local/php/lib/php/extensions/no-debug-non-zts-20060613”
-------在配置文件结尾添加下面二行
extension=mssql.so
mssql.charset="GBK"
extension=ZendOptimizer.so
extension=memcache.so————为避免缓存服务器配置重复操作,在此处加入缓存服务器配置信息
servicehttpdstop
servicehttpdstart
php–m检查php加载的模块
Memcache服务端
Cd/usr/local/src
-------装了Memcache的服务端还不行,还要安装PHP支持memcache的扩展模块viewsource
tar-zxvfmemcache-2.2.6.tgz
cdmemcache-2.2.6
-------配置并安装
/usr/local/php/bin/phpize//第一次可能找不到Cannotfindconfig.m4
./configure--enable-memcache--with-php-config=/usr/local/php/bin/php-config--with-zlib-dir
make
- 配套讲稿:
如PPT文件的首页显示word图标,表示该PPT已包含配套word讲稿。双击word图标可打开word文档。
- 特殊限制:
部分文档作品中含有的国旗、国徽等图片,仅作为作品整体效果示例展示,禁止商用。设计者仅对作品中独创性部分享有著作权。
- 关 键 词:
- lamp 环境 部署
 冰豆网所有资源均是用户自行上传分享,仅供网友学习交流,未经上传用户书面授权,请勿作他用。


 广东省普通高中学业水平考试数学科考试大纲Word文档下载推荐.docx
![ISO-8501[1].1-2007-涂装表面清洁度的目视评定-(中文译本).doc](/Images/s.gif)