 鸿胤操作系统Linux.docx
- 文档编号:11700090
- 上传时间:2023-03-30
- 格式:DOCX
- 页数:51
- 大小:891.28KB
鸿胤操作系统Linux.docx
《鸿胤操作系统Linux.docx》由会员分享,可在线阅读,更多相关《鸿胤操作系统Linux.docx(51页珍藏版)》请在冰豆网上搜索。
鸿胤操作系统Linux
《操作系统课外作业》
【实验题目】1.熟悉Linux/UNIX操作系统
【实验目的】1.熟悉Linux/UNIX操作系统的基本操作;
2.掌握常用基本命令和系统调用。
【实验内容】1.学会开机、退出、登陆与关机;
2.了解窗口工作方式与中断工作方式;
3.熟悉常用命令和系统调用列表;
4.熟悉外存目录树结构;
5.熟悉程序开发工具:
编辑、编译、连接、调试;
6.学会获得帮助信息。
代码:
#include
intmain(){
printf("HelloWorld\n");
return0;
}
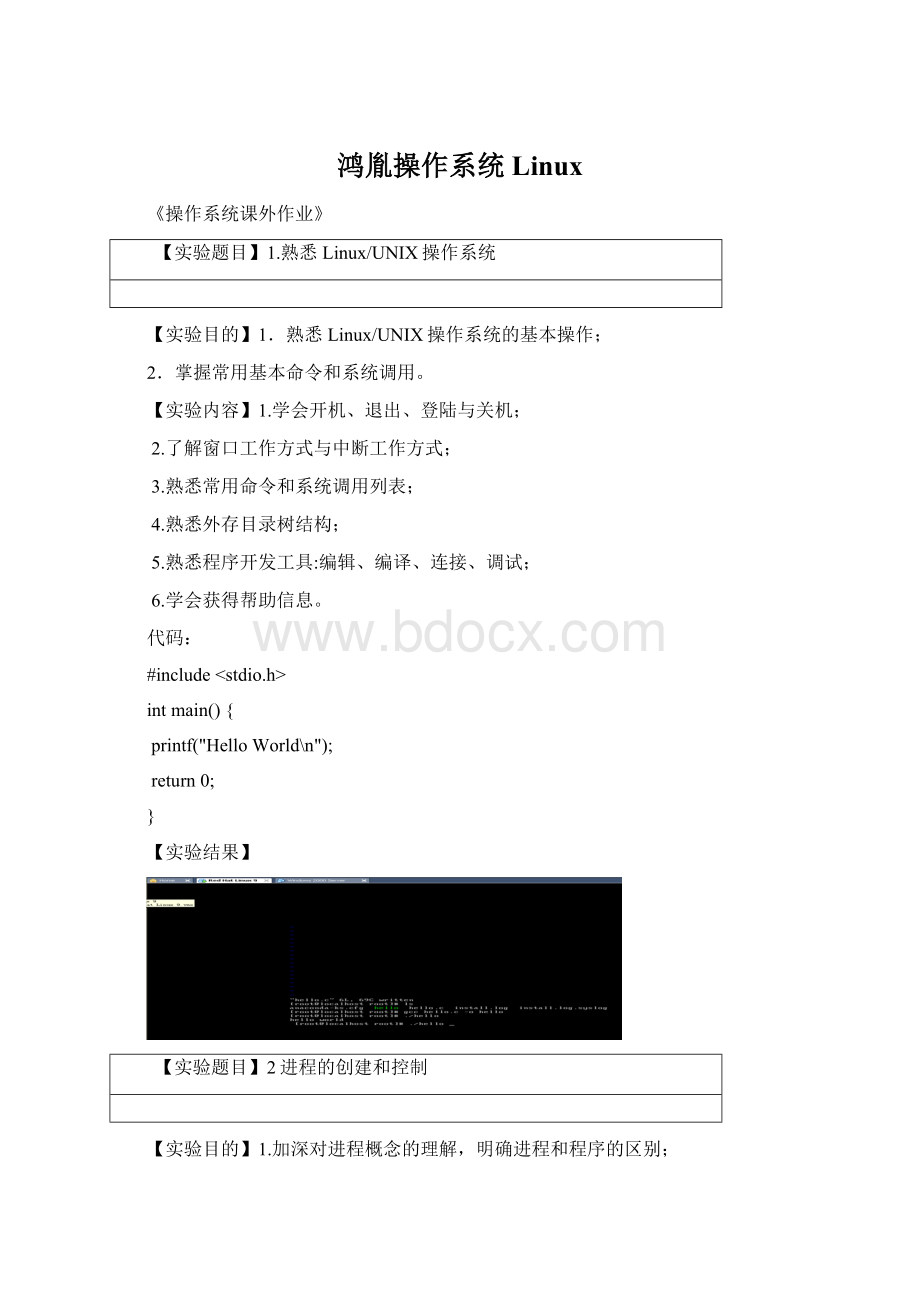
【实验结果】
【实验题目】2进程的创建和控制
【实验目的】1.加深对进程概念的理解,明确进程和程序的区别;
2.进一步认识并发执行的实质;
3.加深对进程管理概念的理解;
4.分析进程的创建过程。
【实验内容】1.进程的创建;
2.进程的控制。
【实验结果】
#include
main()
{
intp1,p2;
while((pl=fork())==-1);/*创建子进程p1*/
if(pl==0)/*子进程创建成功*/
putchar(‘b’);
else
{
while((p2=fork())==-1);/*创建另一个子进程*/
if(p2==0)/*子进程创建成功*/
putchar(‘c’);
elseputchar(‘a’);/*父进程执行*/
}
}
#include
main()
{
intp1,p2,i;
while((pl=fork())==-1);
if(pl==0)
{
lockf(1,1,0),
for(i=0;i<500;i++)printf((“child%d/n”,i);
lockf(1,0,0);
}
else
{
while((p2=fork())==-1);
if(p2==0)
{
lockf(1,1,0);
for(i=0;i<500;i++)printf(“son%d\n”,i);
lockf(1,0,0);
}
else
{
lockf(1,1,0);
for(i=0;i<500;i++)printf(“daughter%d\n”,i);
lockf(1,0,0);
}
}
}
【实验题目】3实现进程的软中断通信
【实验目的】1.掌握基本的软中断通信方法;
2.利用系统调用signal()捕捉中断信号;
3.理解Linux系统中的进程通信的基本原理。
【实验内容】1.编制一段程序,使其实现进程的软中断通信;
要求:
使用系统调用fork()创建两个子进程,再用系统调用signal()让父进程捕捉键盘上来的中断信号(即按^C键);当捕捉到中断信号后,父进程用系统调用Kill()向两个子进程发出信号,子进程捕捉到信号后分别输出下列信息后终止:
ChildProcessllisKilledbyParent!
ChildProcessl2isKilledbyParent!
父进程等待两个子进程终止后,输出如下的信息后终止:
ParentProcessisKilled!
2.在上面的程序中增加语句signal(SIGINT,SIG_IGN)和signal(SIGQUIT,SIG_IGN),观察执行结果,并分析原因。
这里,signal(SIGINT,SIG_IGN)和signal(SIGQUIT,SIG_IGN)分别为忽略Del键信号以及忽略中断信号。
【实验结果】
#include
#include
#include
voidwaiting(),stop();
intwait_mark;
main()
{
intpl,p2,stdout;
while((p1=fork())==-1);/*创建进程p1*/
if(p1>0)
{
while((p2=fork())==-1);
if(p2>0)
{
wait_mark=1;
signal(SIGINT,stop);/*接收Del信号,并转stop*/
waiting(0);
kill(p1,16);/*向p1发中断信号16*/
kill(p2,17);/*向p2发中断信号17*/
wait(0);/*同步*/
wait(0);
printf(“parentprocessiskilled!
\n”)
exit(0);
}
else
{
wait_mark=1;
signal(SIGINT,SIG_IGN);********
signal(17,stop);
printf(“%d”,SIG_DFL);
waiting();
lockf(stdout,1,0);
printf(“childprocess2iskilledbyparent!
\n”);
lockf(stdout,0,0);
exit(0);
}
}
else
{
wait_mark=l;
signal(SIGINT,SIG_IGN);********
signal(16,stop);
printf(%d”,SIG_DEL);
waiting();
lockf(stdout,1,0);
printf("childprocess1iskilledbyparent!
\n”);
1ockf(stdout,0,0);
exit(0);
}
}
voidwaiting()
{
while(wait_mark!
=0);
}
voidstop()
{
wait_mark=0;
}
2.在上面的程序中增加语句signal(SIGINT,SIG_IGN)和signal(SIGQUIT,SIG_IGN),观察执行结果,并分析原因。
这里,signal(SIGINT,SIG_IGN)和signal(SIGQUIT,SIG_IGN)分别为忽略Del键信号以及忽略中断信号。
【实验结果】
源代码:
<任务2程序>
#include
#includc
#include
intpid1,pid2;
intEndFlag=0;
pf1=0;
pf2=0;
voidIntDelete()
{
kill(pidl,16);
kill(pid2,17);
EndFlag=1;
}
voidIntl()
{
printf(“childprocessliskilled!
byparent\n”);
exit(0);
}
voidInt2()
{
printf(“childprocess2iskilled!
byparent\n”);
exit(0);
}
main()
{
intexitpid;
signal(SIGINT,SIG_IGN);
signal(SIGQUIT,SIG_IGN);
while((pid1=fork())=-1);
if(pid=0)
{
signal(SIGUSRl,Intl);
signal(SIGINT,SIG_IGN);
pause();
exit(0);
}
else
{
while((pid=fork())=-1);
if(pid2=0)
{
signal(SIGUSRl,Intl);
signal(SIGINT,SIG_IGN);
pause();
exit(0);
}
else
{
signal(SIGINT,IntDelete);
waitpid(-1,&exitcode,0);
printf(“parentprocessiskilled\n”);
exit(0);
}
}
}
【实验题目】4进程的管道通信
【实验目的】1.了解系统调用pipe()的功能;
2.掌握进程的管道通信的实现;
3.进一步理解进程通信的基本原理。
【实验内容】编制一段程序,实现进程的管道通信。
使用系统调用pipe()建立一条管道线;两个子进程P1和P2分别向管道各写一句话
Child1issendingamessage!
Child2issendingamessage!
而父进程则从管道中读出来自于两个子进程的信息,显示在屏幕上。
要求父进程先接收子进程P1发来的消息,然后再接收子进程P2发来的消息。
【实验结果】
<程序>
#include
#include
#include
intpidl,pid2;
main()
{
intfd[2];
charOutPipe[l00],InPipe[l00];
pipe(fd);
while((pidl=fork())==-1);
if(pidl==0)
{
lockf(fd[1],1,0);
sprintf(OutPipe,“child1processissendingmessage!
”);
write(fd[1],OutPipe,50);
sleep(5);
lockf(fd[1],0,0);
exit(0);
}
else
{
while((pid2=fork())==-1);
if(pid2==0)
{
1ockf(fd[1],1,0);
sprintf(OutPipe,“child2processissendingmessage!
“);
write(fd[1],OutPipe,50);
sleep(5);
lockf(fd[l],0,0);
exit(0);
}
else
{
wait(0);
read(fd[0],InPipe,50);
printf(“%s\n”,InPipe);
wait(0);
read(fd[0],InPipe,50);
printf(“%s\n”,InPipe);
exit(0);
}
}
}
【实验题目】5使用动态优先权的进程调度算法模拟
【实验目的】通过动态优先权算法的模拟加深对进程概念进程调度过程的理解。
【实验内容】
1.用C语言来实现对N个进程采用动态优先权优先算法的进程调度。
2.每个用来标识进程的进程控制块PCB用结构来描述,包括以下字段:
进程标识数ID。
进程优先数PRIORITY,并规定优先数越大的进程,其优先权越高。
进程已占用的CPU时间CPUTIME。
进程还需占用的CPU时间ALLTIME。
当进程运行完毕时,ALLTIME变为0。
进程的阻塞时间STARTBLOCK,表示当进程再运行STARTBLOCK个时间片后,将进入阻塞状态。
进程被阻塞的时间BLOCKTIME,表示已足赛的进程再等待BLOCKTIME个时间片后,将转换成就绪状态。
进程状态START。
队列指针NEXT,用来将PCB排成队列。
3.优先数改变的原则:
进程在就绪队列中呆一个时间片,优先数加1。
进程每运行一个时间片,优先数减3。
4.假设在调度前,系统中有5个进程,它们的初始状态如下:
ID01234
PRIORITY93830290
CPUTIME00000
ALLTIME33634
STARTBLOCK2-1-1-1-1
BLOCKTIME30000
STATEREADYREADYREADYREADYREADY
5.为了清楚的观察各进程的调度过程,程序应将每个时间片内的情况显示出来,参照的具体格式如下:
RUNNINGPROG:
i
READY-QUEUE:
-〉id1-〉id2
BLOCK-QUEUE:
-〉id3-〉id4
======================================
ID01234
PRIORITYP0P1P2P3P4
CUPTIMEC0C1C2C3C4
ALLTIMEA0A1A2A3A4
STARTBLOCKT0T1T2T3T4
BLOCKTIMEB0B1B2B3B4
STATES0S1S2S3S4
【实验结果】
#include
#defineN5
voidinit();
voidprint();
intgetRunning();
voidsort();
intrun(inttime);
enumSTATE{Ready,Run,Block,RunOut};
structPROCESS{
intID;
intPriority;
intCputime;
intAlltime;
intStartblock;
intBlocktime;
enumSTATEState;
}Process[N];
intREADY[N];
intBLOCK[N];
intRUNOUT[N][2];
intmain(){
intTime=0;
init();
printf("Time:
%d\n",Time);
sort();
print();
while
(1){
Time++;
getchar();
printf("Time:
%d\n",Time);
if(run(Time))
break;
//sort();
}
//print(Time);
return0;
}
voidinit()
{
inti;
//printf("Inputpropertiesof%dprocess(PRIORITY,ALLTIME,STARTBLOCK,BLOCKTIME):
\n",
//N);
for(i=0;i READY[i]=-1; BLOCK[i]=-1; RUNOUT[i][0]=-1; RUNOUT[i][1]=-1; Process[i].ID=i; Process[i].Cputime=0; Process[i].State=Ready; /*printf("Number%d: ",i); scanf("%d,%d,%d,%d",&Process[i].Priority,&Process[i].Alltime, &Process[i].Startblock,&Process[i].Blocktime); */ Process[i].Startblock=-1;Process[i].Blocktime=0; } Process[0].Priority=9;Process[0].Alltime=3;Process[0].Startblock=2;Process[0].Blocktime=3; Process[1].Priority=38;Process[1].Alltime=3; Process[2].Priority=30;Process[2].Alltime=6; Process[3].Priority=29;Process[3].Alltime=3; Process[4].Priority=0;Process[4].Alltime=4; } voidprint() { inti; if(getRunning()>=0) printf("\tRUNNINGPROG: %d\n",getRunning()); printf("\tREADY_QUEUE: "); for(i=0;i if(READY[i]>=0) printf("->%d",Process[READY[i]].ID); else{ break; } } printf("\n\tBLOCK_QUEUE: "); for(i=0;i if(BLOCK[i]>=0) printf("->%d",Process[BLOCK[i]].ID); else{ break; } } printf("\n=====================================================\n"); printf("ID\t"); for(i=0;i printf("\t%d",Process[i].ID); } printf("\nPRIORITY"); for(i=0;i printf("\t%d",Process[i].Priority); } printf("\nCPUTIME\t"); for(i=0;i printf("\t%d",Process[i].Cputime); } printf("\nALLTIME\t"); for(i=0;i printf("\t%d",Process[i].Alltime); } printf("\nSTARTBLOCK"); for(i=0;i printf("\t%d",Process[i].Startblock); } printf("\nBLOCKTIME"); for(i=0;i printf("\t%d",Process[i].Blocktime); } printf("\nSTATE\t"); for(i=0;i switch(Process[i].State){ case0: printf("\tReady");break; case1: printf("\tRun"); if(Process[i].Alltime==0) { Process[i].State=RunOut; } elseProcess[i].State=Ready; break; case2: printf("\tBlock");break; case3: printf("\tRunOut");break; } } printf("\n"); printf("\tRUNOUTLIST: "); for(i=0;i if(RUNOUT[i][0]>=0) printf("->%d(%d)",Process[RUNOUT[i][0]].ID,RUNOUT[i][1]); else{ printf("\n"); break; } } printf("\n"); } intgetRunning() { inti; for(i=0;i if(Process[i].State==Run) returni; } for(i=0;i if(Process[i].Startblock==0) returni; } return-1; } voidsort() { inti,j,k; for(i=0;i READY[i]=-1; BLOCK[i]=-1; } for(i=0;i if(Process[i].State==Ready||Process[i].State==Run){ //Process[i].State=Ready; if(Process[i].Alltime==0) continue; for(j=0;j if(READY[j]<0) { READY[j]=i; break; } elseif(Process[i].Priority<=Process[READY[j]].Priority) { continue; } else{ for(k=N-1;k>j;--k){ READY[k]=READY[k-1]; } READY[j]=i; break; } } } elseif(Process[i].State==Block){ for(j=0;j if(BLOCK[j]<0) { BLOCK[j]=i; break; } elseif(Process[i].Blocktime>=Process[BLOCK[j]].Blocktime) { continue; } else{ for(k=N-1;k>j;--k){ BLOCK[k]=BLOCK[k-1]; } BLOCK[j]=i; break; } } } } } intrun(inttime) { inti,runNum; runNum=READY[0]; if(runNum<0&&BLOCK[0]<0){ printf("EveryprocessisOVER! \n"


- 配套讲稿:
如PPT文件的首页显示word图标,表示该PPT已包含配套word讲稿。双击word图标可打开word文档。
- 特殊限制:
部分文档作品中含有的国旗、国徽等图片,仅作为作品整体效果示例展示,禁止商用。设计者仅对作品中独创性部分享有著作权。
- 关 键 词:
- 操作系统 Linux
 冰豆网所有资源均是用户自行上传分享,仅供网友学习交流,未经上传用户书面授权,请勿作他用。
 《雷雨》中的蘩漪人物形象分析 1.docx
-
《经济法基础》第三章章节练习与答案解析.docx
-
安徽省合肥市包河区卫生健康系统招聘试题及答案解析.docx
-
《河中石兽》复习过程.docx
-
版二级建造师《公路工程管理与实务》考前检测 附答案.docx
-
保密安全制度监理组5篇修改版.docx
-
北师大版届九年级上学期期末考试英语试题I卷.docx
-
PACE产品及周期优化法系统结构复习课程.docx
-
常规变电站常规设计.docx
-
初三欧姆定律计算题题型整理.docx
-
《测绘管理与法律法规》模拟试题一附答案.docx
-
2测风工岗位练兵技术比武.docx
-
《小学语文不同课型的教学模式参考》1.docx
-
15高考宁夏英语及答案教学内容.docx
-
ABS圆形笔筒课程设计说明书.docx
-
c语言程序填空题.docx
-
茶艺师高级三级教学计划大纲.docx
-
场平土石方工程施工项目组织设计.docx
-
《人力资源管理》期末试题及答案教学内容.docx
-
《河南省高等学校教师实验人员中高级专业技术职务任职资格申报评审条件试行.docx
-
01钢结构制作施工工艺标准文档.docx
-
IIR数字滤波器的设计流程图.docx
-
005纺丝作业指导书.docx
-
1991高考化学试题.docx
-
GMP审核检查表与审核员指南.docx
-
成本会计试题二.docx
-
14001讲师心态调整培训讲座讲义体验版共14页文档.docx
-
cpld矩阵键盘.docx
-
《金融服务营销》.docx
-
NHR100过程校验仪140408.docx
-
Q+ Web 改版设计小结.docx
-
八年级上册古诗词鉴赏含参考答案.docx
-
项目管理项目部上墙制度精选资料文档格式.docx
-
施工单位百日安全生产无事故活动方案Word文档下载推荐.docx
-
精品文北京工业大学 最新创业大赛获奖作品商业计划书范例Word下载.docx
-
人教版必修5《Unit1 Great scientists》同步练习卷河北省邢台二中2教师用卷Word下载.docx
-
年会流程手册(适合旅游年会)Word格式文档下载.doc
-
鲁教版五四制 八年级英语下册 全一册 Unit18 优秀导学案 合集含答案Word格式文档下载.docx
-
完整版小学奥数年龄问题题库教师版文档格式.docx
-
月总结幼儿教师范文Word文件下载.docx
-
电科院技术监督风电标准文档格式.docx
-
初中政治说课网word范文 14页文档格式.docx
-
整理工艺方案及生产测试方案Word文档下载推荐.docx
-
我懂得了感恩作文500字Word下载.docx
-
XJZXJC800用户手册V10文档格式.docx
-
政府收购工作计划范文4篇Word文档格式.docx
-
从化区太平镇中心卫生院迁建项目Word文件下载.docx
-
大众对园林景观的破坏行为及保护策略Word格式文档下载.doc
-
高三政治试题精选高三政治第一轮复习必修一第一单元生活与消费练习题有答案文档格式.docx
-
网络营销课程体系V30Word下载.docx
-
碟仙诡谭观后感范文Word文档格式.docx
